The MITs Dungeon Concept
Terrain ideas for creating modular dungeon concepts with LEGO using the modular integrated tabletop terrain system or MITs.

The Modular Integrated Tabletop system (MITs) is designed to provide flexibility and interchangeability for a modern tabletop gaming system that uses Lego. MITs works based on a "Rule of 4," meaning, four stud symmetry in every way possible. It avoids stud placement and designs using odd numbers or combinations of studs divisible by any number other than four. The reason for this has been covered before in Part One - Guide to Making Maps. In short, Lego bases much of it's design and most popular brick options based on even numbers. Odd-numbered pieces or pieces divisible by three and not four have fewer options and at times, harder to source.
Previously, a lot of discussion has been based around making terrain using larger 32x32 stud base plates. I've found that while this is great for outdoor spaces or spaces in my world that require a lot of square footage, it does not translate very well to making a dungeon. Building a dungeon on top of the 32x32 MITs plates never seemed to work quite right.
This was one of my earliest dungeon attempts in Studio and I quickly found that making walls to segment hallways and rooms was going to be tedious and costly. How much of the wall placement should be for practical purposes and how much should be for decorative purposes? I could never find the balance. So, I tried something else.
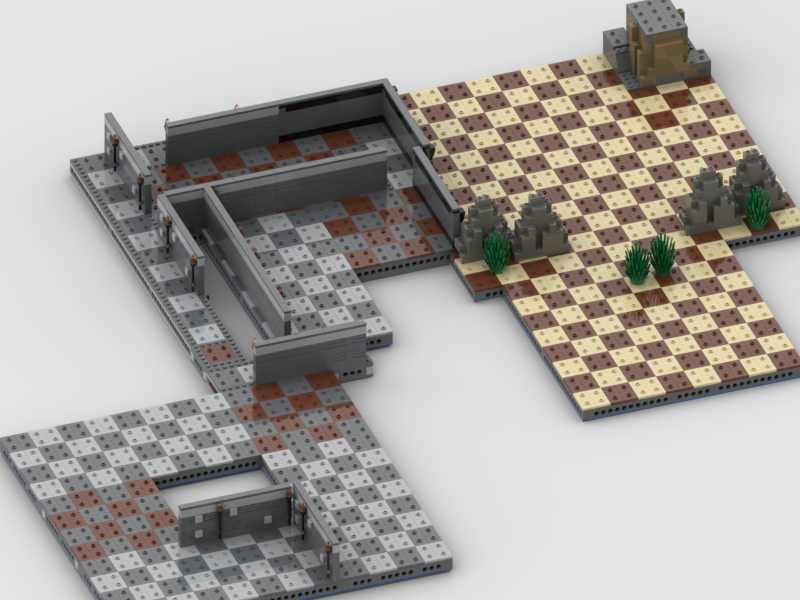
My next attempt got me closer to a more modular/reusable system for dungeon design. In these attempts, I broke my central "Rule of 4" math and tried to incorporate 6x16 stud plates as hallways and 6x6/12x12 stud platforms as small rooms and hallways. This worked but it still felt boxy and the math with the 6x6 stud plates was difficult to work around. Adding to the frustration, I began using wall pieces that attached to the side of the MITs plate which I like in some cases. I still find it difficult to work with at times and from a purely modular/reusable standpoint. The walls are somewhat flimsy.

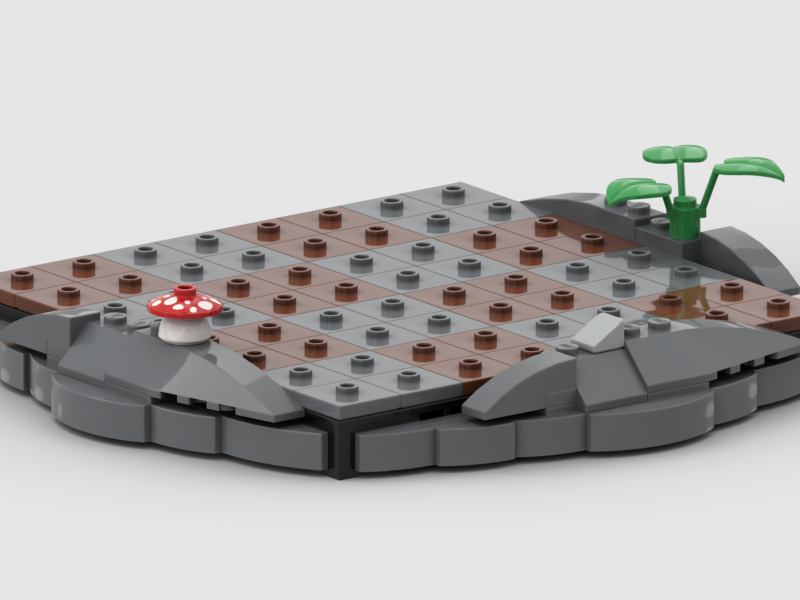
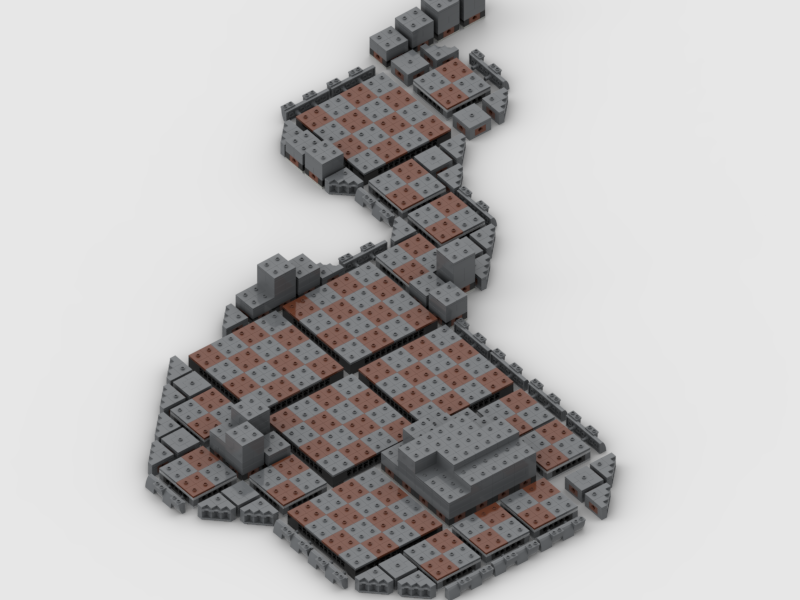
Abandoning walls altogether, I decided to work on a different setting - a cave - which is a common setting (underground) for a lot of various tabletop adventures. In playing with these concepts, I realized very quickly that what was more immersive and impressive wasn't the use of walls, but rather their implication that they are there. To do this, I started building what I call "side-pods" on the side of the MITs plates to give the feeling of 'rocks' from being in a cave. This, I realized was the way to go.

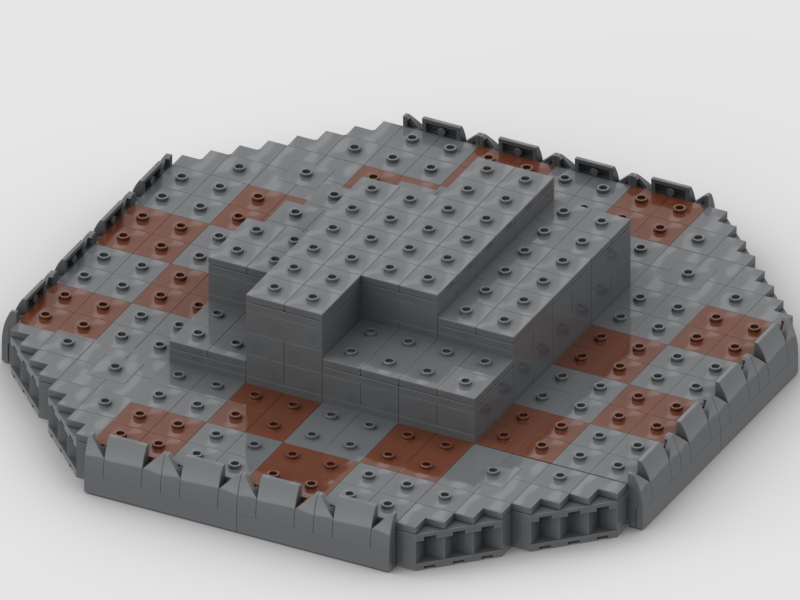
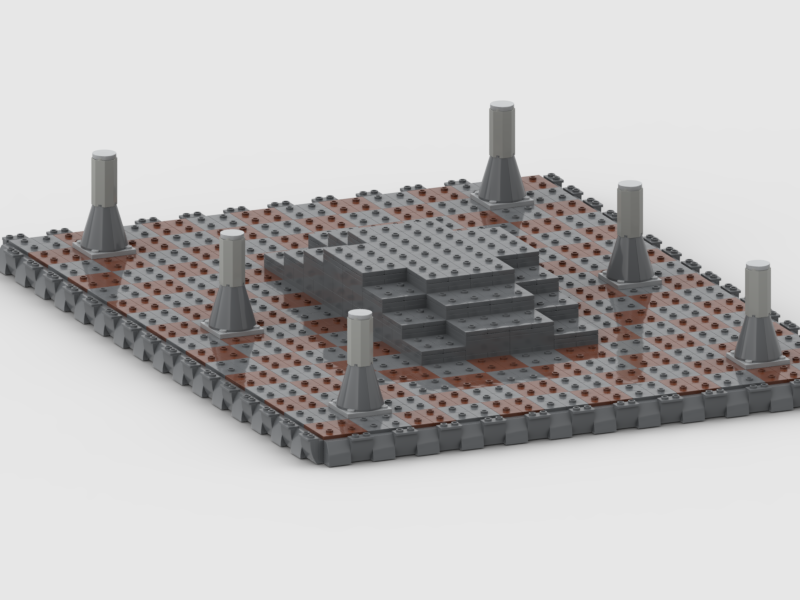
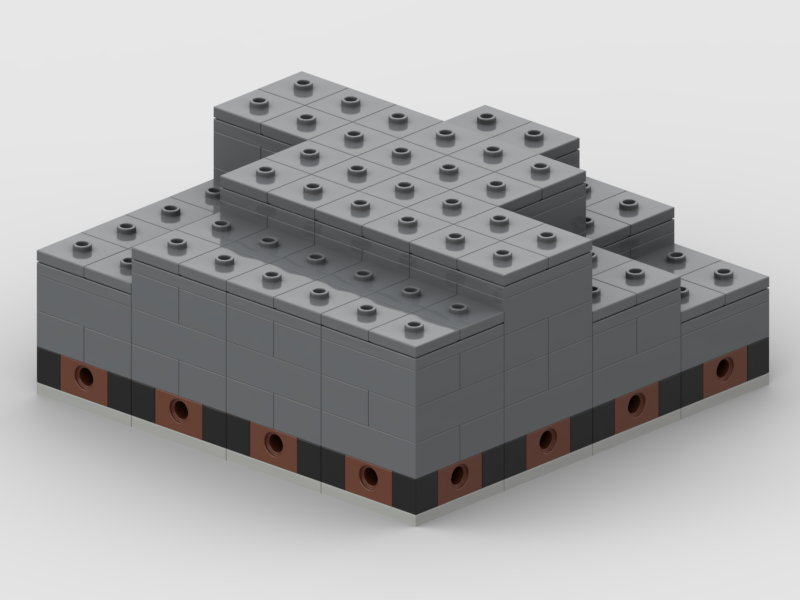
The only thing I felt was missing at this point was the ability to convey different levels. For that, I turned to some techniques for building terrain that are similar to Minecraft. Using 4x4 squares and 2x4 stud bricks to build height, I began making modular pillars that could be assembled in various combinations to create rockyy elevations for my maps. These could be plugged into different-sized 4x4, 8x8, or 16x16 gaps in my maps and give them a much more diverse and interesting element.
Lastly, I needed something to break up the blocky symmetry and create more asymmetry in my layouts. I had begun to play with using 6x6 sloped pieces. These can be found in the cave layout map shown above. Again, the problem with using these comes down to the fact that they are not using a stud count divisible by four. Additionally, these pieces are more expensive so I went for a cheaper alternative and went back to my "Rule of 4."
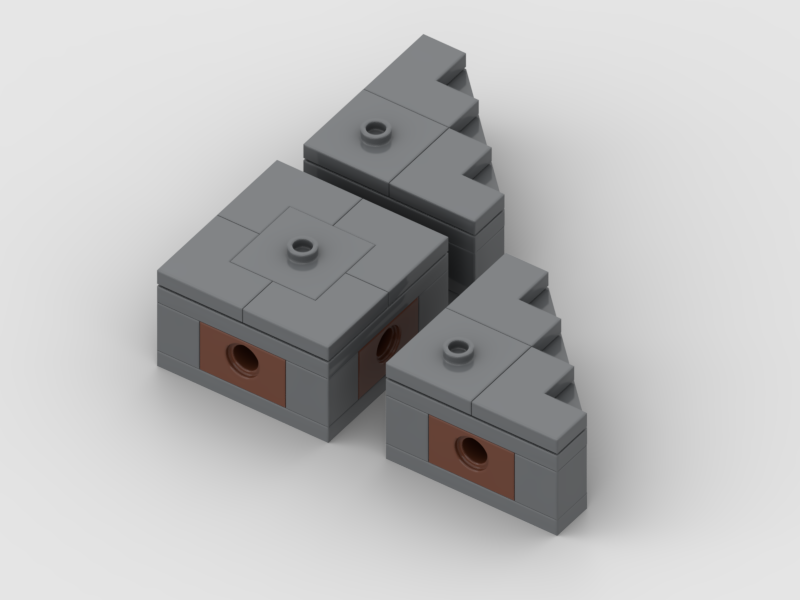
If every main piece on my map is on a 4x4, 8x8, 16x16 or 32x32, area, almost anything can be built on top of it. Combining an 8x8 piece with a 6x6 piece is where problems start to arise. When making these asymmetric corner pieces (shown below), remember that they still have to adhere to the 4x4 symmetry.
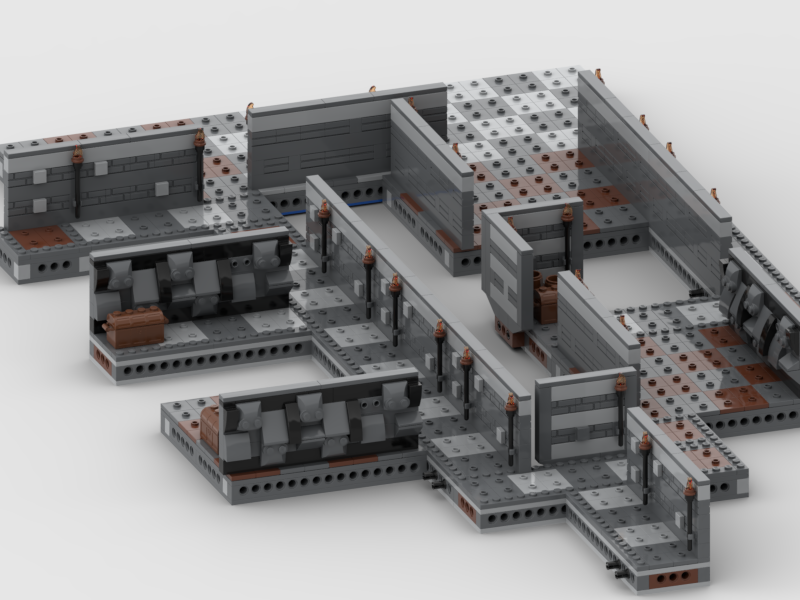
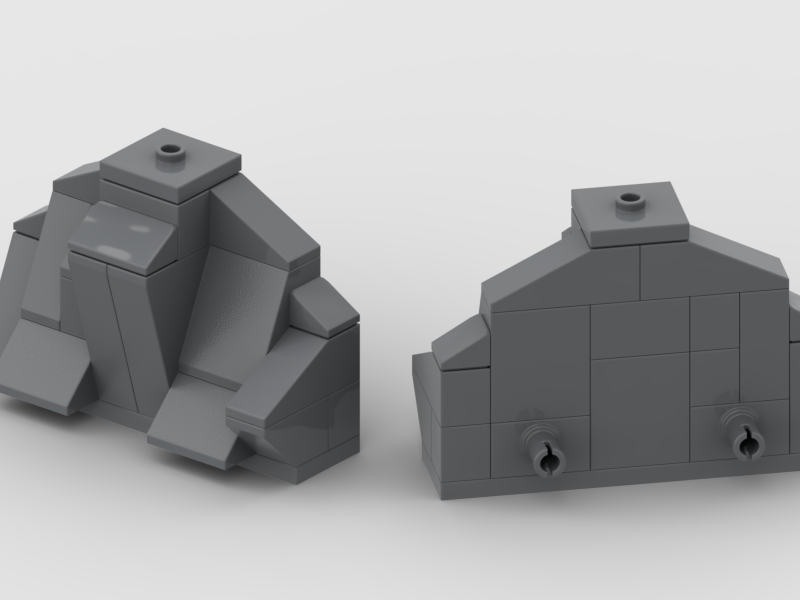
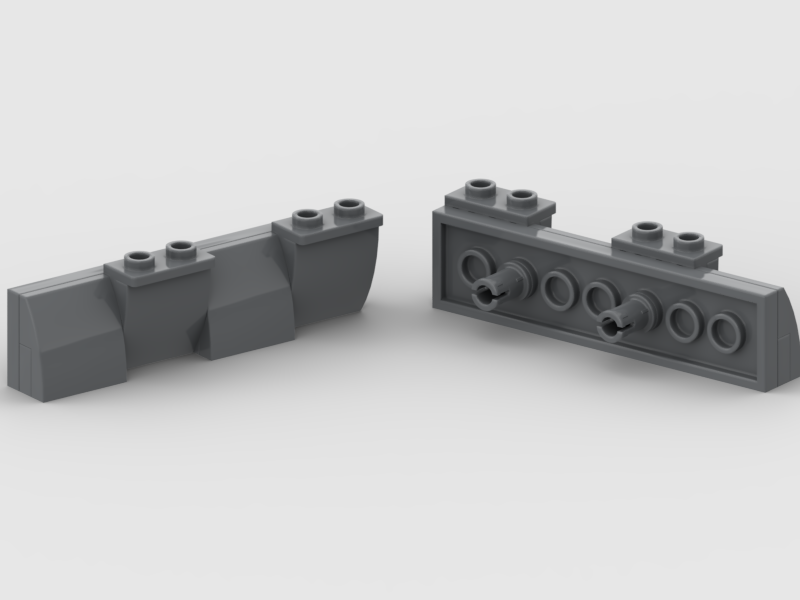
The last part of making a MITs dungeon for tabletop games is (mostly) optional. Using 'side-pods' which attach to the sides of the MITs board using the technic connections, hides the somewhat ugly technic design while adding some additional attachment points for the scene. These attachment points could be easily swapped to create different decor for underground places like the Underdark or dungeon-esque decoration (like torches) for more traditional dungeons.
Below is a rocky side attachment which I've used in my Underdark concept quite frequently. Next is the more common 2x8 'sidepod' which can be used as a side attachment for almost any environment. As far as expense goes they aren't terrible. At the end of the day, the entire point is to cover the technic bricks on the sides and provide some environmental 'vibes' for whatever the scene is. How you choose to do that, is up to you so feel free to get creative!
When all these elements are combined they create, what I believe, is the most modular and interchangeable use of parts for creating a huge amount of possible layouts without having to break down or rebuild any of the components (once they are made).
I will keep evolving this concept. So far, I'm thrilled with how much creativity and flexibility this type of modular system allows for. While there is some expense upfront in assembling and ordering the pieces, the possibilities for maps that come from them can be rather staggering. Keep an eye on this space as I will post instructions for each type of piece in use in the future.